My deck construction series works through the starting cards in each Specialty and Background. I don’t want these to get too complex and lengthy, but at the bottom I do offer some deck combinations for you to look over for ideas and inspiration. I may expand these posts in time to include more discussion of the different possible combinations.
Deck Construction Series
-
Artisan Deck Construction in EBR
-
Shepherd Deck Construction in EBR
-
Forager Deck Construction in EBR
-
Traveler Deck Construction in EBR
-
Explorer Deck Construction in EBR
What makes an Artisan unique?
The Artisan is all about diversifying how you access and use your gear. You can get more uses out of Tech gear. You can search for gear in your deck. You can chuck it to do a lot of harm. You choose Artisan as your background to boost the functionality of gear you gain from your Specialty (or gear you intend to acquire through Deck Progression in the campaign).
Artisan is also home to a unique card in the game – Mother of Invention – that allows you to play an Attachment from your discard. Without this card Attachments are single use cards. Some Attachments are really central to a deck concept- like Trail Markers, for example – and Mother of Invention really levels up that build.
It also has one of the best fatigue soothing cards in the game!
Spoiling my conclusion, however, I think you may be hard-pressed to choose 5 of the 9 cards here during Deck Construction and feel that they all remain useful in your deck. The cards in Artisan are best suited as targets for Deck Progression or as your Outside Interest during Deck Construction. You can grab whatever Moment or Gear cards you need to synergize with your deck.
Cards by Sphere
Awareness
The two cards in the awareness sphere are variations on a theme of finding and getting your gear into play. They’re both powerful and useful in their own way.
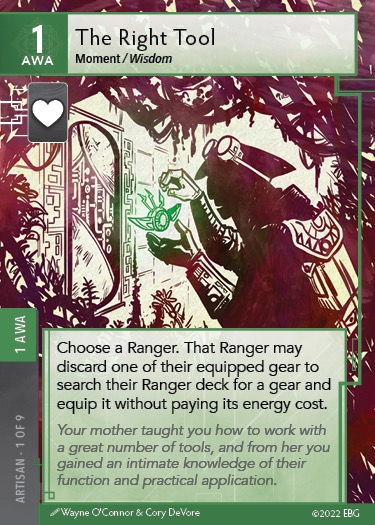
The Right Tool trades out a gear that you can’t or no longer want to use. As such, you get more efficiency out of your gear cards in your deck because it’s less likely that you will be sitting around with the gear with no charges on them. As well, as the name suggests, if you’re facing a tricky situation this card helps you go find the gear you need to solve it. On top of it all, avoiding paying the energy cost to equip is also potentially valuable energy efficiency.
This card is useful both in high and low gear decks. In a high gear deck, you can cycle out your gear with no tokens left to get one you can use. In a low gear it gives you another way to get your few key pieces in play. As a moment card, you can get multiple plays out of it if you include some cards from the Traveler background. You can also bring it into your deck during your campaign through deck progression.
Compared to the Pocketed Belt Pouch this is the better card for searching for gear and getting it into play. The Belt Pouch requires you to perform a test (and draw challenge card) and you only get to put it in hand. You still then have to pay the cost to equip it. The Right Tool requires no test and no equip cost.
You are limited to two plays of this card in a game session (one for each copy of the card in your deck, as opposed to three plays from the charges on the Belt Pouch). But in my experience two should be enough. If you want more, you can add either Paths We’ve Roamed Before or Perfect Recall from the Traveler Background. I don’t see gear cycling as a viable deck strategy though because this card doesn’t allow you to find gear in your discard pile or fatigue stack so you hit a dead end there.
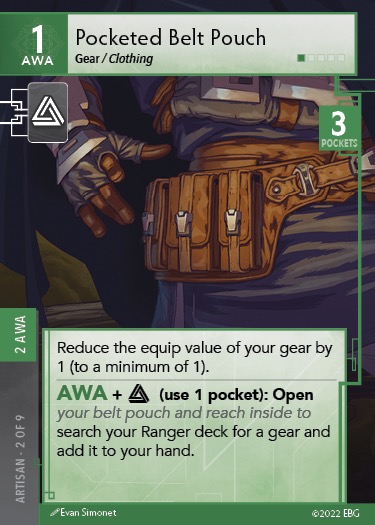
Pocketed Belt Pouch is a pretty popular and high profile card, and with good reason. Its first effect, to lower the equip value of gear, is really good and worth it by itself. With the Pouch you could run 4 2-equip slot gear in play and the Belt Pouch which saves you 4 equip slots. The belt pouch has no effect on one cost gear so if your deck mostly consists of these, you can probably skip the Belt Pouch. There are just a few 3-slot gear in the game and this card obviously makes them a little less onerous to have in play.
The second effect, the ability to search for gear, really comes into its own if you keep only one copy of each gear card in your deck. With 2 copies of the Belt Pouch, you rely on it to help you find the other gear. This allows you to maximize the Search test of the Belt Pouch and use those other deck slots for other cards.
The Belt Pouch isn’t hard to get into your deck through Deck Progression at the Carbon Forge, Growers Assembly, or with Ren Kobo so don’t waste your Outside Interest on it.
Fitness
The fitness fear offers two great utility cards, one for gear and a card that uniquely allows you to reuse attachments. This sphere also has the expert card of the background.
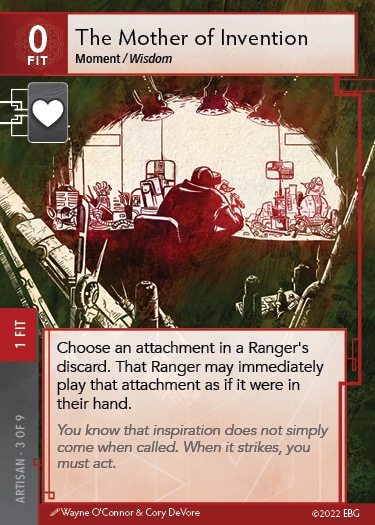
The Mother of Invention is the only card in the game that allows you to pull attachments out of your discard. This can be Trail Markers, Carbonforged Cable, or Green Thumb for example. It’s cheap. It is a moment so you can add it mid-campaign and get multiple uses through the Traveler background cards. If you have lots of attachments, this is a no-brainer. To gain some efficiency you could drop to just one copy of some attachments but have two copies of this card.
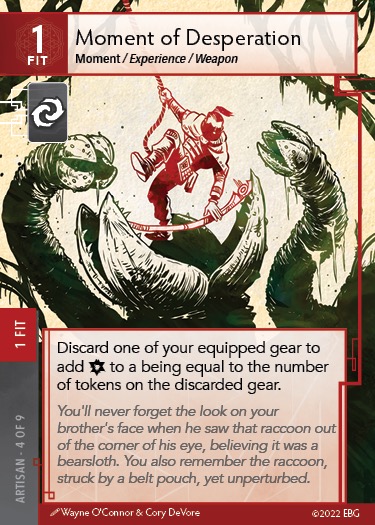
Moment of Desperation makes any gear into a weapon and you could do a ton of damage if you have a way to build up tokens on that card, either through a Response on it or if you are using the Exceptional Tinkerer or Voice of the Elders role. The best implementation of this card is to just have one in your deck because it’s unlikely that you’ll need to do a big bunch of damage more than once in the course of one day. You do have to discard the gear so overly relying on this card results in chucking otherwise useful gear away. So think of this as the oh shit, big boss, backup plan card, as the name suggests.
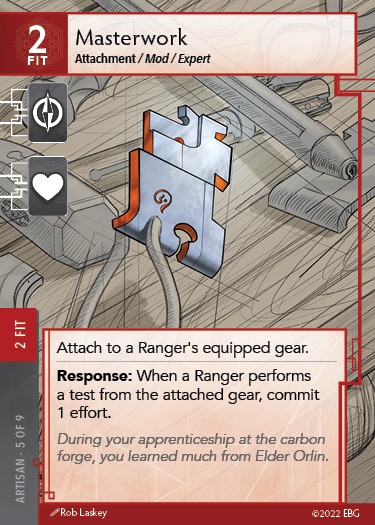
Upon first look Masterwork sounds like a really good card. A free extra effort for any test performed from a gear! Sign me up! The catch comes in that a lot of gear doesn’t actually allow you to perform a test.
There are 32 gear cards in the core set, not including rewards. Of that, only 8 cards have tests on them:
- Meditation Pillow / FOC test
- Pocketed Belt Pouch / AWA test
- Carbonforged Trowel / Weapon / SPI or FIT test
- Hydrolens Goggles / AWA
- Orlin Hiking Stave / Weapon / FIT test
- Spiderpad Gloves / FIT test
- Wrist-Mounted Darter / Weapon / FOC test
- Orlin Thumper / Weapon / FIT test
Of these, the Meditation Pillow, Hydrolens Goggles, Carbonforged Trowel, and Wrist-Mounted Darter have a scaling effect where you get to do something up to the amount of effort you committed. With these cards, the extra effort from Masterwork can help you ramp up a really big success to take down a big predator, scout a lot of cards, or replenish your draw deck. These are the best cards to pair with Masterwork! For all the others, Masterwork simply allows you to conserve 1 energy and to make that have any difference you’ll have to use that saved energy in the same round.
Looking a little deeper, the test on many of these gear cards uses the same energy as the sphere of the cards. In other words, a fitness card has a fitness test. This is worth pointing out because the extra effort is less useful if your Aspect gives you more of that energy to begin with. Of the three cards I mentioned with scaling effects, three of them (Meditation Pillow, trowel, and Darter) have cross-energy tests. Meditation Pillow is a SPI card but uses a FOC test, the Trowel has both FIT and SPI tests and Darter is a FIT card with a FOC test. The potential pairing of Masterwork with these cards could let you boost up a lower FOC or SPI Aspect to be more useful.
Pairing Masterwork with Hydrolens Goggles makes the Scouting ability even more functional (until you run out of charges on the Goggles, of course).
Focus
These cards are just okay for the solo ranger.
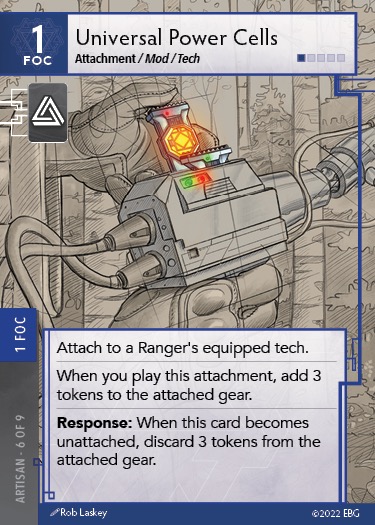
A nice card, doubly nice with Mother of Invention to pull it out of your discard, to get increased use out of your tech cards. Throw this on a card you want to use frequently, like the Memlev Trekking Poles, and let it rip.
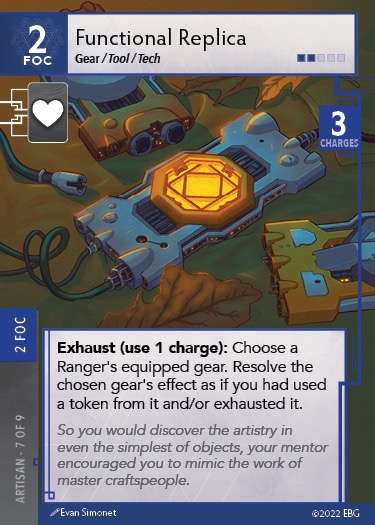
This is a card designed very clearly with multiplayer in mind. I really don’t see why this would be any use to a solo ranger.
Spirit
Typical of Spirit-sphere cards, we see ways to soothe and avoid fatigue.
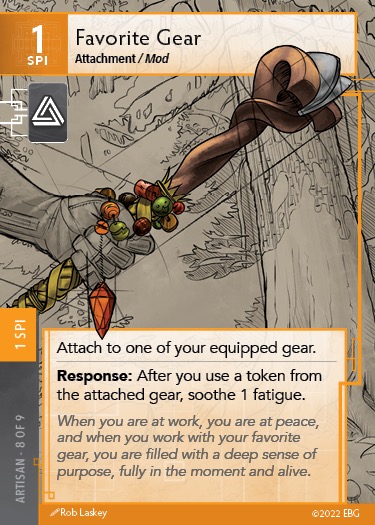
For some builds this is the best fatigue soothing card in the game. Preferably you put this on a gear card that gives you a way to replenish its tokens through a Response effect, or you play as the Exceptional Tinkerer or Voice of the Elders. If you use the card regularly it should handle all the fatigue you’ll generate that day.
This is also one of my favorite Outside Interest cards. As an attachment you won’t be able to get it any other way except during Deck Construction, so all you non-Artisans definitely need to consider it right at the beginning.
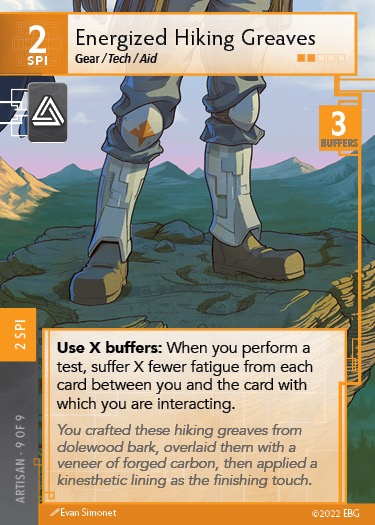
To get the most out of this card you need a way to replenish tokens on it. The tech and aid card types synergize well with roles in Artificer and Conciliator.
You need to be able to replenish it because you could really burn through a lot of buffers quickly if you intend to use this card a lot. I think you should plan to use it frequently because it’s a 2-equip cost gear that takes up a lot of space. Don’t just sit on it for that one big test at the end of the day.
Pay close attention to the wording “from each card”. That means if you would suffer fatigue from 3 separate cards, using one buffer prevents 1 fatigue from each card.
Aspect Considerations
Fitness and Awareness are the two best spheres so to get the most out of choosing Artisan you will want your Aspect to give you 2 energy in each of those spheres. The 2-requirement cards in Focus and Spirit are underwhelming and you won’t miss them if either of those is your dump stat. You can be clever and plan to use Masterwork to compensate for one of these being your low stat if you attach it to a gear card with a test in that energy, but that is a fringe combo and probably not worth building a deck around.
Deck Starting Points
- Traveler – Explorer : Level the Field
- Forager – Explorer : Surly Gardener
- Artisan – Explorer : Neutralizer
- Shepherd – Explorer : Beastmaster
Conclusion
I’m not all that into ranking Specialties and Backgrounds because I think they each bring something unique to the table. But, of the four backgrounds in the core set, Artisan is the one I think you can most easily get away with accessing through your Outside Interest or Deck Progression. In other words, don’t choose it right away. There isn’t enough internal synergy to the Background to justify choosing it to get 5 of the 9 cards included from the beginning.
The expert card (Masterwork) needs a specific combo to be worth it and the best cards here are moments or gear which you can easily get in the campaign if you need them to build out your deck concept. The one exception is Favorite Gear. As an attachment, you can only get this during deck construction, so if you’re not an Artisan grab it as your Outside Interest if it looks like your best route to soothe fatigue.

Leave a comment